Marble Crayons & Marble Kits

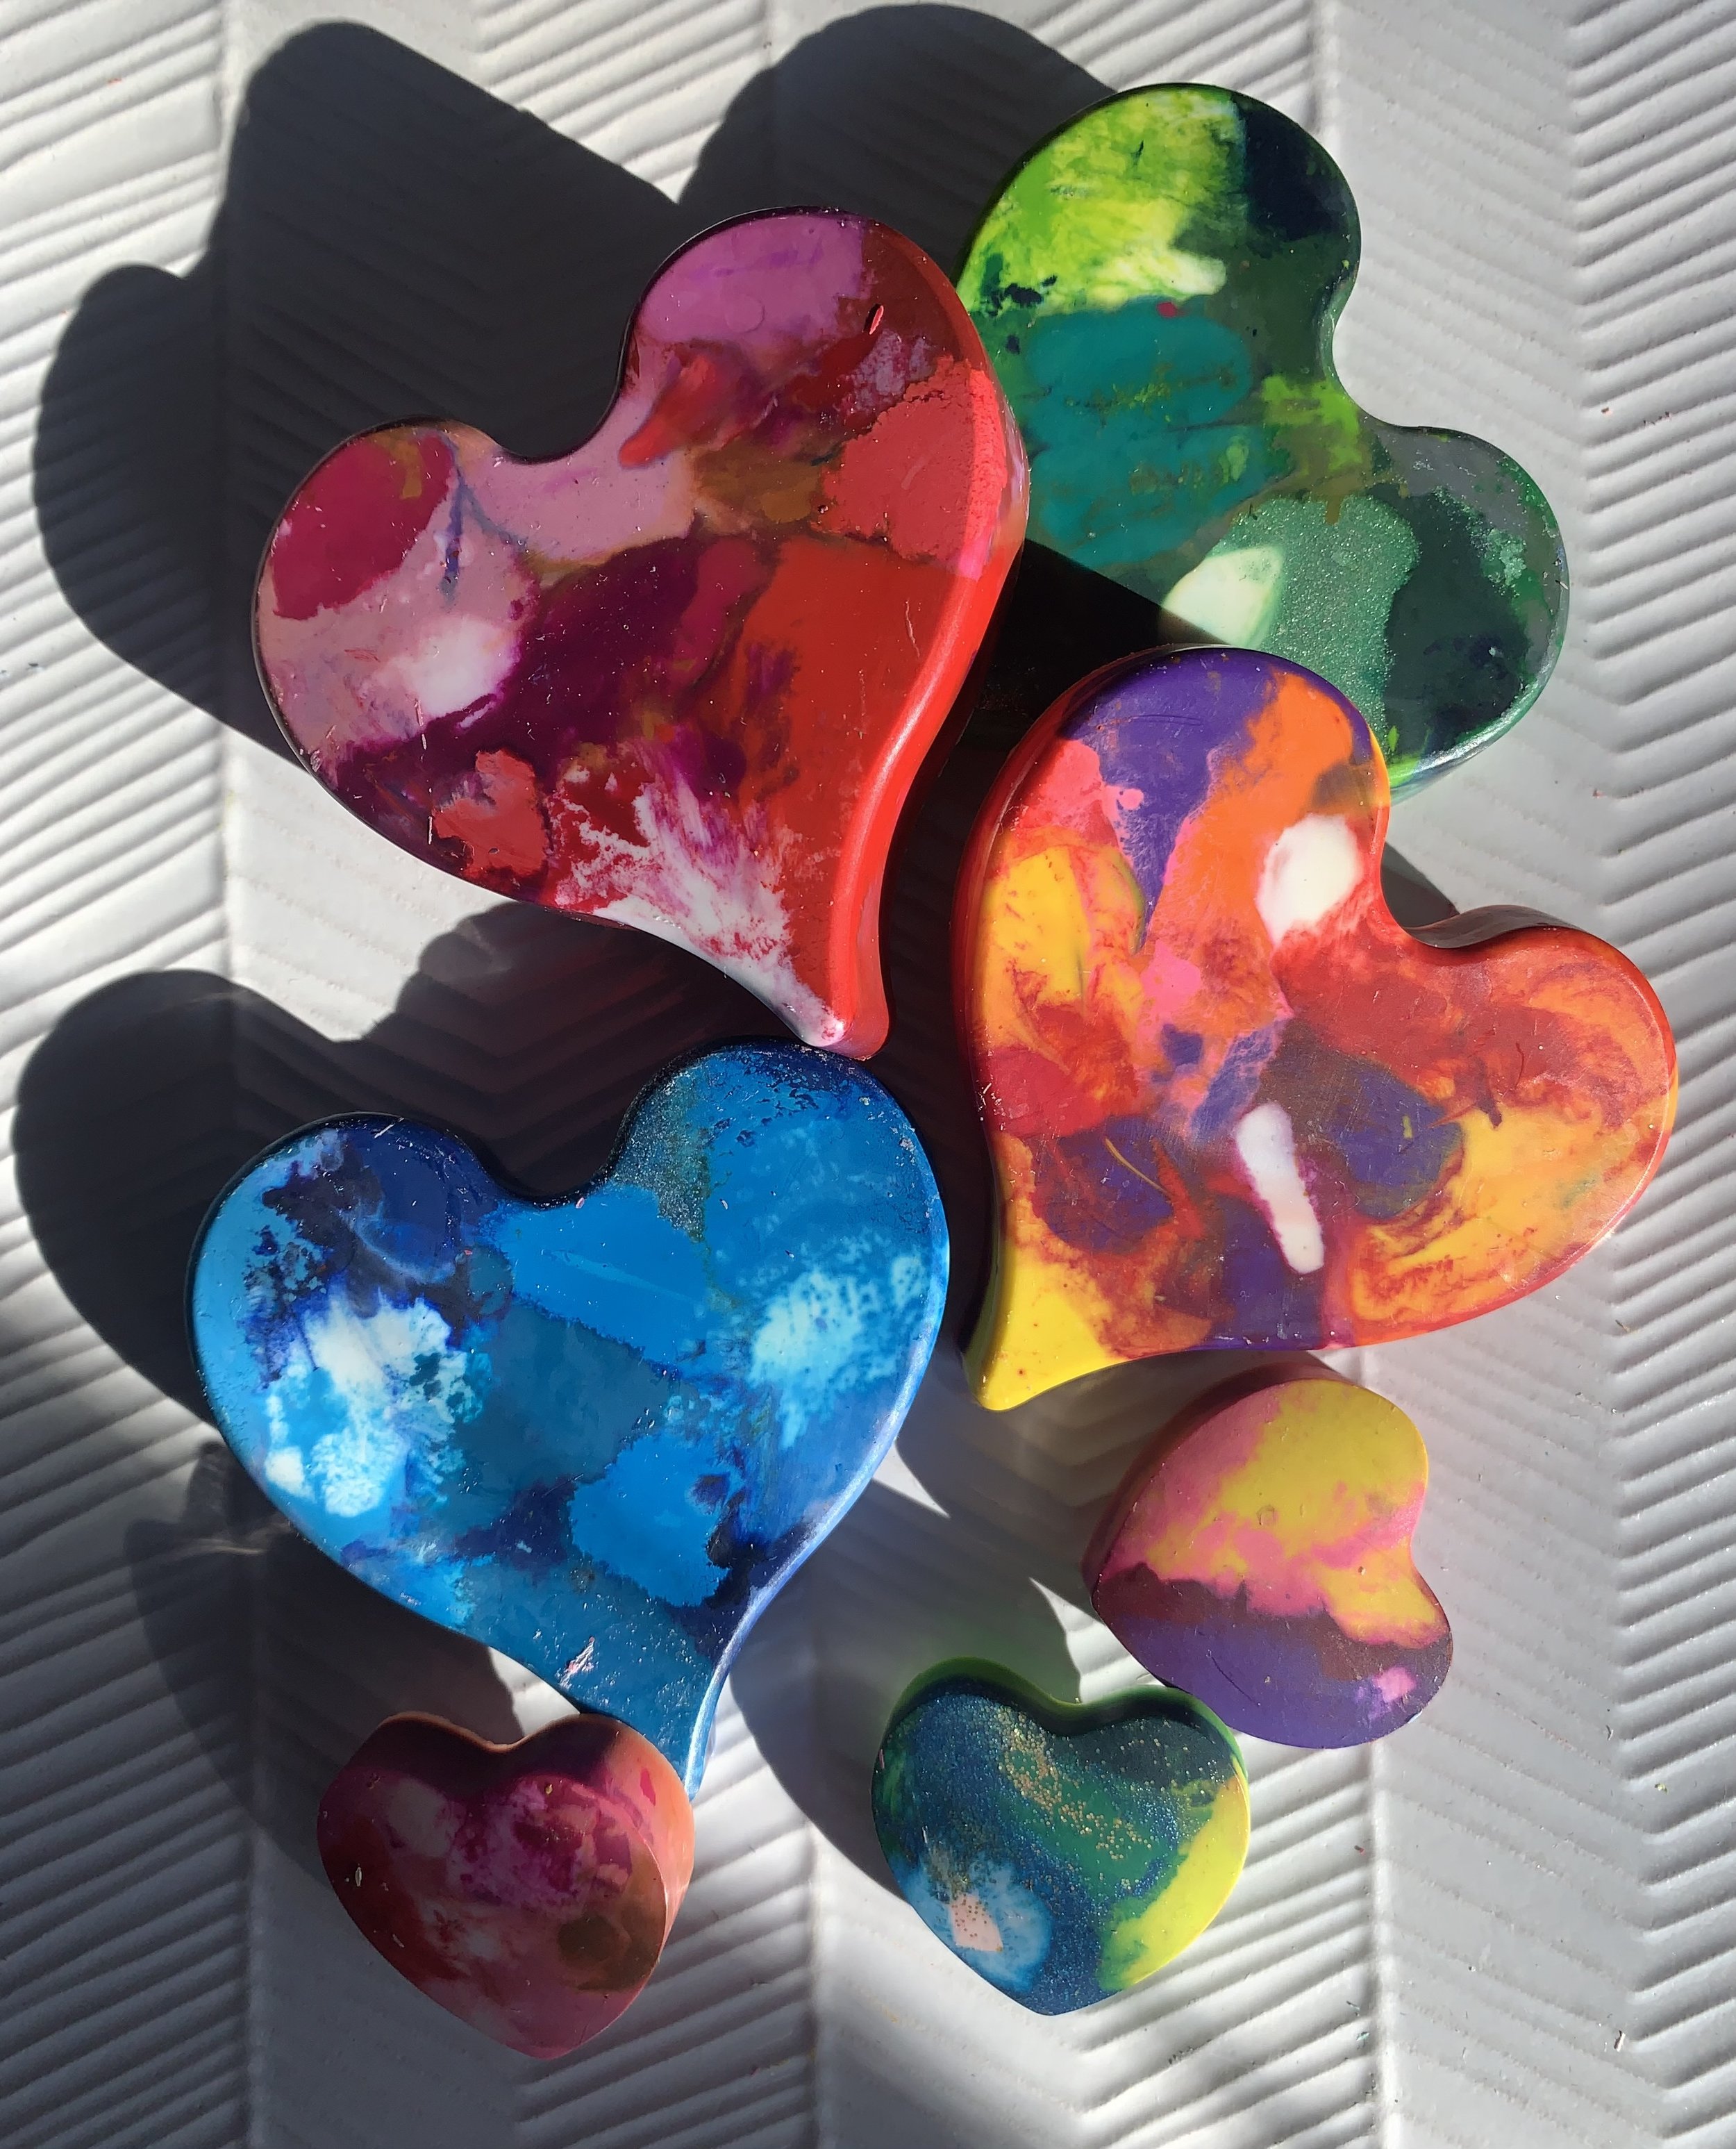
Marble Crayons

This is a fun afternoon craft to make with loved ones and then share with classroom friends.

If there aren’t kiddos in your life consider making these and then dropping them off to libraries or other non-profits.

Another fun way to use crayons – regardless of age, is to add a roll of craft-paper as a table runner and then use the marble crayons as table décor. Guests will have fun doodling while chatting over brunch.


Supplies:

Crayons

Silicon Molds

Glitter – optional

Steps:

Step One: Fill a large bowl with water, place crayons in water.

Wait five minutes and then pull the crayon wrapper off of the crayons.

Throw away the wrappers.

This water-bath process really helps expedite taking the wrappers off from the crayons.


Step Two: Color sort crayons and break into small pieces.


Step Three: Preheat oven to 350-degrees


Step Four: Place silicon molds onto a lined baking sheet. Add crayons ( and optional glitter) to silicon molds. Don’t over pack. The small empty space in-between the crayons allows for the crayons to melt into one another and create the marbling of colors.


Step Five:

Place cooking sheet with the silicon molds into the pre-heated, 350-degree oven. Oven temperatures and the depth of the silicon molds will vary. Set a five timer and check to see if crayons are melted. Most crayon melt between 5 minutes and 15 minutes.


Step Six:

Carefully remove hot baking pan from oven. Allow for crayons to fully cool before removing from silicon mold.  The depth of the silicon mold will impact cooling time. On average wait two hours to remove harden crayon wax from the silicon molds. Gently remove crayons from molds!


Insider Tips:

- Ask family and friends for used crayons they no longer need. People seem to hold on to crayons.

- Post on neighbor websites asking for used crayons

- Thrift Stores are great resource for crayons

- Metallic crayons look amazing when melted

Marbling is ancient art that produces beautiful swirling patterns. There are artists who have studied and mastered the many techniques of this craft. Luckily, there are now kits available at Art Stores that allow for experimentation of this art form without requiring hours of studying & practice!


Supplies:

Marabu Easy Marble Kit, $17

Spray Sealant - Optional

Items to dip: fabric headbands, ceramic dishes, Paper-Mache animals, wooden craft trinkets -ect.

Container for water – size should vary depending on items

Chopstick or wooden kabob skewers

Rubber gloves

Freshly Marbled

Steps:

Step One: Prepare your work area by place newspaper around and under where you will dip your items. Create an area to dry your work.


Step Two: Add water to the container that you will use to dip your item in. You will need enough water for the item to be fully submerged. When I was dipping smaller items, I used a plastic cup and the colors were very bright as it was a concentrated area.


Step Three: With the caps still on the paints, shake each paint jar. Remove caps and add paint to the water. Use a chopstick or wooden kabob skewer to make swirl patterns in the water. Act quickly while adding paint and swirling the colors.


Step Four:

Dip your item into the water and paint. Set the item aside to dry.


Step Five:

Clear the surface of the water. This step seems like magic!  Move the chopstick or wooden kabob skewers around the water like you are stirring soup. The paint will cling to the stick, and you’ll be ready for your next round of adding paint.


Step Six:

OPTIONAL: Depending on your item type, Add spray sealant to your marble item.

Marabu Easy Marble Kit

https://wetpaintart.com/marabu-easy-marble-kit/

Sealer

https://www.michaels.com/americana-acrylic-spray-sealer-finisher-matte/10254974.html
Personalized Holiday Gifts

Gift Card Ornament

This is a fun and easy craft to make for teachers, mail-carriers or maybe just the teen in your life who wants to select their gift.

This gift-card feels more celebratory and thoughtful with a few simple steps and supplies.


Supplies

-       Ornament

-       Ribbon (optional)

-       Glue Dots / Adhesive Dots (sold at Target, Michael’s, and online)

-       Gift Card

-       Mini Trees or Mini Wreath – anything small with extra cheer!

-       Paper for Gift Tag, Can use pre-made Gift-Tags too

Gift Card Ornament Steps:

1.     For more impact, upgrade the ribbon that comes with the ornament. This is an optional step. Glue or untie the existing ribbon and rethread the ribbon of your choice and finish with a knot or bow.

2.     Apply a glue dot to the back of the gift card and then press the back of the gift card firmly on the ornament.

3.     On the front of the gift card add a glue dot and then apply small tree & personalized note


Glue Dots are the unsung hero when it comes to crafting and gift-wrapping! It’s fun to give gift cards to local restaurants and neighborhood coffee shops.

Personalized Patches

Yes, there still is time to give customizable gifts!

Have someone in your life with an untraditional name spelling, someone who adores their pet, how about someone who loves everything local – if you answered yes to any of the above questions, this craft-able gift is for you!


Supplies

-       Iron-on Patches (available from online retailer with same day/ two-day delivery)

-       Iron-on Patches with local flair (available from local store, I Like You)

-       Items to adhere personalized patches to such as: dog sweaters, beanies, book bags

-       Iron

-       Cotton Cloth (tea towel, old tee-shirt)

-       Wax Paper


Iron-on Patched Steps:

1.     Read the instructions that come with your iron-on patches for accuracy. Most instructions are similar to the next-steps listed below:

2.     Place patch on desired area on garment or accessory.

3.     Put a cotton cloth over the patch as a buffer from the direct heat from the iron.

4.     Apply medium to high heat to the patch for 30- 60 seconds. Lift cotton cloth, to confirm letters or patches are adhered to your item. Apply the cotton cloth and heat if needed.

5.     On the back side of the patch, place wax paper and iron for 30 seconds.

6.     Do not wash item for 48 hours, when washing- turn item inside out.

Amazing Patches from I LIke You boutique in NE, MPLS

Photo Ornament

When is the last time you printed a photograph?

We have access to a cameras more than ever before and yet it seems so rare that we print photo of our memories!

This craft is a great personalized gift that documents the year’s milestone and one that will be remembered each year as it’s hung on the tree.


Supplies

-       Wooden DIY Ornaments (available at Michael’s Craft Store and available with Online retailer with next-day delivery)

-       Mod Podge

-       Sponge-style paint brush

-       Photos ( I used the Walgreens App, select the 4x4 option. Photos are printed within two hours and cost .33 cents!)

-       Scissors or larger three inch hole punch

-       Ribbon

-       Paint & Wooden Beads Optional

-       Hot Glue

Photo Ornament Steps:

1.     Trace the shape of your wooden ornament on to the photograph. Take time aligning the placement of the photo, being mindful on how it’s going to be hanging.

2.     Cut around the photo or use a large hole punch.

3.     Removed attached ornament string if the photo is blocking or if you want to customize with ribbon or beads.

4.     Put a very little amount of Mod Podge on the surface of the wooden ornament. This helps your photo stay in place. If you are wanting to paint the surface of your ornament do that before applying the photograph and Mod Podge to the surface of the wooden ornament

5.     Apply a very thin layer of Mod Podge with the sponge paint brush. A little goes a long way. I found the best results when I applied the Mod Podge in long strokes and waited a few minutes in-between applications. Two Applications worked best for me.

6.     Decorate with ribbon, bows and beads!

7.     Depending on the size of your wooden ornament and photograph, you may want to use the attached ornament string. If not, make a ribbon loop on the back of the ornament and secure with hot glue. Secure bows to the top of your ornament with hot glue.

Wreaths & Winter Cheer

It’s the time of year where we can capture the essence of the season with thoughtful gifts and nostalgic smells. These crafts elevate grocery store wreaths with the addition of fresh eucalyptus and pine and will show-us ways to display holiday cards and a fun count-down style wreath.

Count-Down- Style Tree Wreath

Items needed:

-       4 Dowels or decorative wood trim purchased from the hardware store

-       Hot Glue & Glue Gun

-       Decorative string or ribbon

-       24 mini boxes

-       Mini clothes pins, numbers

Directions:

1.     Make a triangle with 3 dowels. The base dowel will need to be cut a few inches.

2.     Measure the length of the fourth dowel to make three to four rungs – by laying it over the triangle shape to measure the needed length.

3.     If you don’t have access to a hand saw – you can use one free of charge at hardware stores.

4.     Hot glue the triangle shape and then hot glue the rungs on the triangle shape.

5.     Add 24 wrapped gifts with numbers to the rungs on the triangle shape.


This can be used as a count-down style wreath or used as white elephant game by having guests pull a number out of a hat for their gift selection.

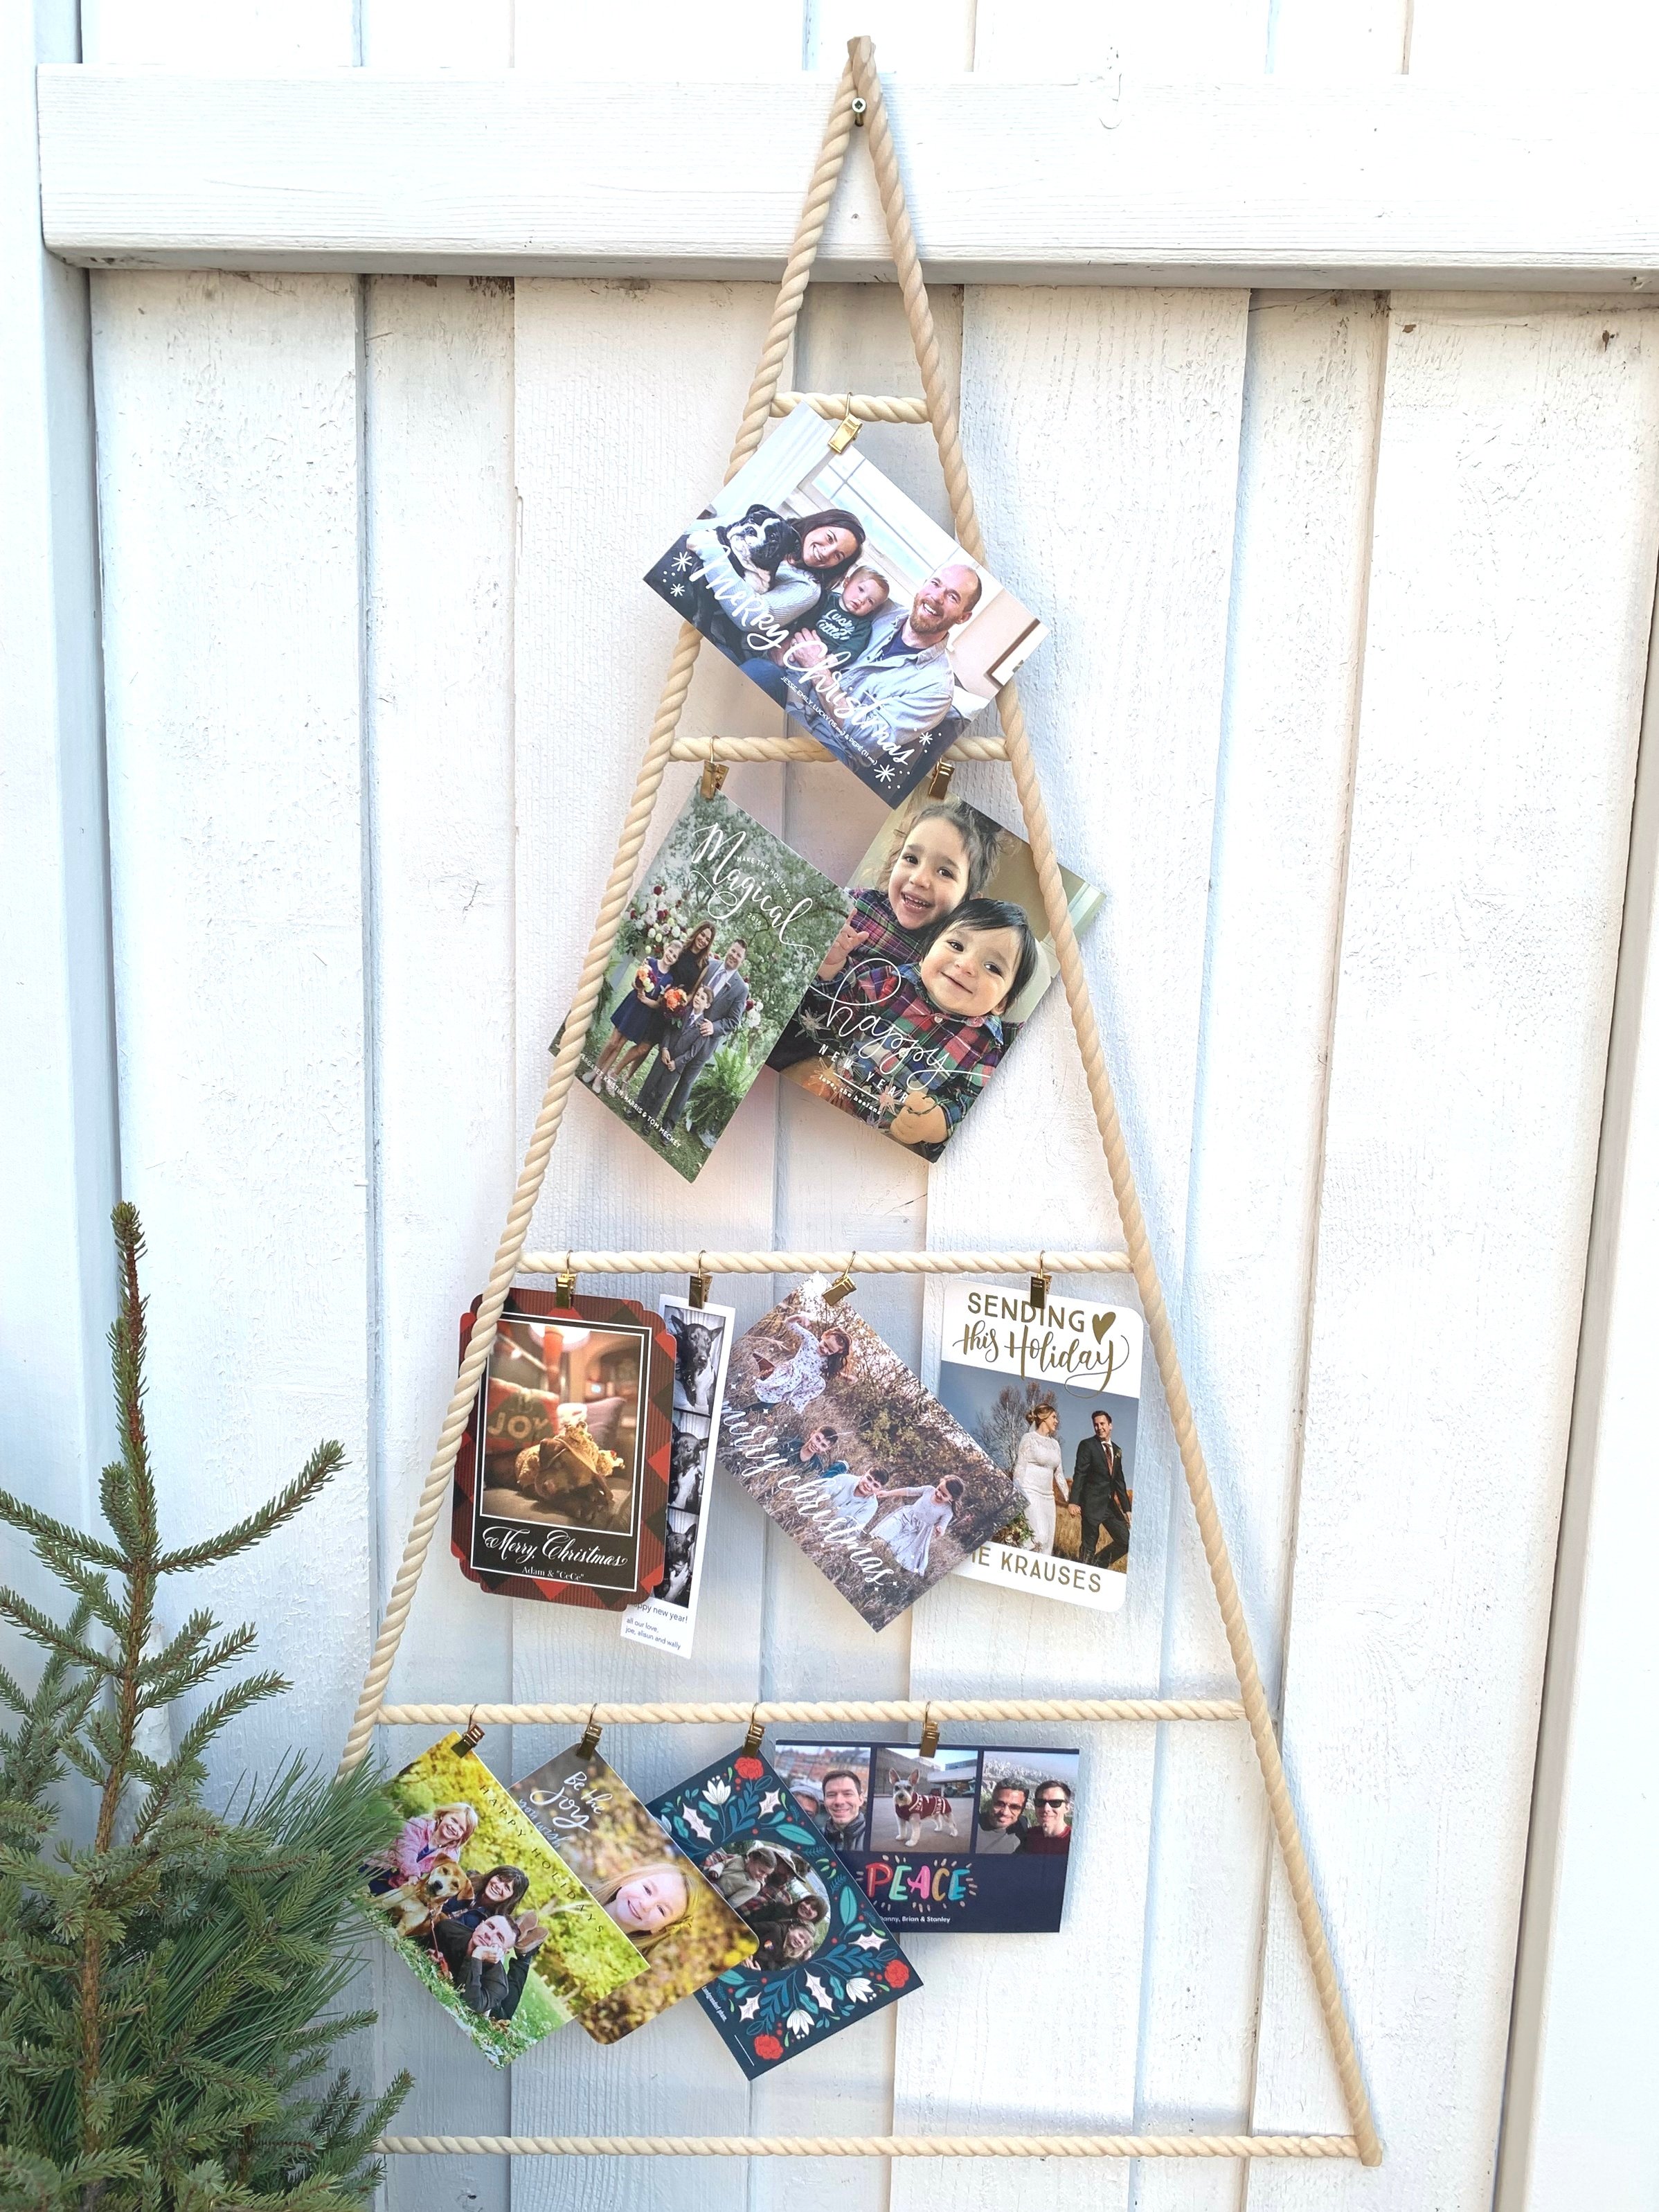
Holiday Card Tree Wreath

Items needed:

-       4 dowels or decorative wood trim purchased from the hardware store

-       Hot glue & Glue gun

-       Decorative string or ribbon

-       Clothes pins, paper clips, photo clips – items to adhere greeting cards to tree

Directions:

1.     Make a triangle with 3 dowels. The base dowel will need to be cut a few inches.

2.     Measure the length of the fourth dowel to make three to four rungs – by laying it over the triangle shape.

3.     If you don’t have access to a hand saw – you can use one free of charge at hardware stores

4.     Hot glue the triangle shape and then hot glue the rungs on the triangle shape.

5.     Wrap and tie decorative string or ribbon around the triangle shape and rungs.

6.     Attach holiday greeting cards to the string or ribbing with paper clips.

Grocery-Store ‘Glow-up’ Wreath

-       Greenery wreath

-       Fresh cut sturdy floral stems like seeded eucalyptus from your local florist / can also use dried or faux floral or berries

-       Wire

-       Wire Cutter

-       Ribbon (Optional)

Directions:

1.     Create mini bouquet bundles.

2.     Remove some of the bottom section of greenery on the stem - so that it’s easier to wrap wire around the base of the stems.

3.     Wrap wire around the base of the mini bouquet.

4.     Once you have finished your mini bouquet bundles, lay them on your wreath and confirm if you need to make more bundles for the desired look.

5.     Cut approximately 8 inches of wire for each of your mini bouquets – this wire will be use to secure the bundles to the base of the wreath. The length of wire will be determined by the density of your wreath. If you have a small or large wreath you may need shorter or longer wire.

6.     Secure the mini bouquet to the metal section of your wreath.

7.     Be mindful of not having the wire show – so move sections of the greenery around the mini bouquets.

8.     Add a bow or ribbon by securing it to wire and then wrap the wire around the wreath base to secure.

Pinecone Wreath

 This is the perfect craft to make use of any unused craft supplies from wreath-making!

 Pinecone Hanging Wreath

-       Greenery

-       Fresh cut sturdy floral stems like seeded eucalyptus from your local florist / can also use dried or faux floral or berries

-       Wire

-       Wire Cutter

-       Hot glue gun & hot glue or Florist Glue

-       Ribbon

Directions:

1.     Wrap wire around pinecone to make loop – this will allow for the pinecone to hang freely.

2.     Choose a cohesive color palette of greenery with colorful dried berries or floral – this will create impact.

3.     Stick the individual leaves and stems into the pinecone- this is the trial run before adding glue. You can decorate the top of the pinecone and decorate in between the space in the cone.

4.     Once you have added the individual pieces in the pinecone, take each piece out and apply hot glue or florist glue to the base of the leaf or stem. A little glue goes a long way.

5.     Tie ribbon on one side of the wire. Wrap the ribbon around the wire and add hot glue as you continue to wrap the ribbon around the wire loop.

Thank you for the constant source of inspiration - you are the best! https://www.leitnersstpaul.com/

Embed Block
Add an embed URL or code. Learn more

$40 FB Market Place Playhouse Flip

This was a fun weekend project!

I love how a little bit of paint can change a once very-loved outdoor playhouse into a ‘new one’ for my friend’s family. I took all the pieces of the house a part laid them on tarps in the backyard and then applied spray painted. I used five cans of spray paint.

Curtain Holiday Crafts!

The Holiday season is a natural time to celebrate, reflect, and give thanks.  It is also a time of year that can easily be overwhelming with get-togethers and gift-giving.  
Today we will make thoughtful and resourceful, handmade gifts that will no doubt make you and your loved ones focus on the beautiful simplicity of giving. 
I was asked to make these crafts using curtains as we are paying homage to the musical, ‘The Sound of Music’ on TCL. In the musical, the lovely character Maria, makes fun clothing for the children out of curtains. 

Here are four crafts to make using curtains:
1.    Curtain Tent

As a child, I always looked forward to attending family holiday parties because it meant that I would be able to spend time with my cousins.  Some of my favorite memories are playing Barbies with my cousins in my aunt and uncle’s big closet.  Please note, my family did not request or suggest that we play in the closet, we just love the idea of a fort.  My cousins and I thought it was really fun to have a space all our own.  

Curtain Tent - Photo By: Glenn D. Griffin

Curtain Tent - Photo By: Glenn D. Griffin

While thinking about this project, I thought, ‘How cool would it be to make a portable fort for parents to take out for their children just around the holidays?’

For this project, I used two large panel curtains that I purchased, second hand at the Arc’s Value Village. These curtains were priced under $10.  I went to Home Depot and purchased five 1x2 pine boards.  These boards are six feet and will not need to be cut to make the A-Tent-Frame. I also purchased one 1x3 board that I asked to be cut in half. This board will be used as a support on the bottom of the A-Tent-Frame. I purchased eight bolts that I drilled on the top and bottom of the A-Tent-Frame. I used one of the 1x2 to string the tab curtains on and then I put this on top of the A-Tent-Frame.  All the wood and bolts were under $20.

Shopping List:
-    Two, Six Feet Curtains
-    Five, 1x2 Pine Boards
-    One, 1x3 Pine Board – Cut In Half
-    Eight Bolts

2.    Curtain Ornaments
This is the easiest and most charming craft and it’s perfect for the holidays!  In my quest to find cute curtains for this, ‘Sound of Music’ theme segment, I found a great holiday plaid. This plaid is so darling on its’ own, I wanted to keep this craft simple. 

I also purchased a plain white curtain and a lace curtain for this project. All of these curtains were under $5 at the Arc Value Village.

I went to the craft store and purchase the smallest embroidery hoops. I cut the curtain in a circle a little bit larger than the hoops. After I secured the curtain swatch in place, I then embellished with ribbon and bows to make this a holiday ornament.   This would be a fun craft to with a favorite piece of clothing that is no longer wearable.

Shopping List:
-    Holiday Plaid Curtain
-    Embroidery Hoops
-    Ribbon

Curtain Craft Hoop Ornaments - Photo By: Glenn D. Griffin

Curtain Craft Hoop Ornaments - Photo By: Glenn D. Griffin

3.    Clay Curtain Ornaments:
I was really drawn to the lace detail of one of the curtain panels. I thought the lace would resemble snow if imprinted in clay. 

I purchased inexpensive clay from the craft store.  I made small flat circles, punch a hole through the top of the clay, and then started pressing the lace details into the clay. I then added a bit of paint and fine glitter to the lace imprint in the clay. The lace detail is very fine and understated.  
I wanted more of an imprint so I grabbed my cranky cat and placed her paw into the clay.  I was pleased with the imprint she was not. I baked the clay ornaments at 150 degrees for 10 minutes. After the clay cooled, I cut thin pieces of curtain to then string through the clay discs to make a holiday ornament.

Shopping List:
-    White Clay from the Craft Store
-    Ribbon / or strips of Curtains
-    Paint
-    Fine Glitter

Clay Ornament 

Clay Ornament 

4.    Curtain Gift Wrap:
All of these gifts need gift wrap! 
I loved the patterns, textures, and colors of the left-over curtains scrapes from my crafts.  I used thin pieces of the curtains to embellish my holiday gift wrap. 

Piece of curtain make great bows and embellishments on presents

Piece of curtain make great bows and embellishments on presents

Here’s to a wonderful season of thoughtful and resourceful gift-giving!

Pumpkins DIY Crafts!

Pumpkins are a perfect decoration to add to your home during the autumn season.  In addition to being a staple to doorsteps and front porches on Halloween, pumpkins are awesome to bring indoors to decorate a mantel, a dining room table or a mini bar.  
When purchasing pumpkins to carve with your family, purchase a few additional pumpkins specifically for home décor.


There are a many ways to incorporate pumpkins into seasonal home décor. Here are three simple ways to decorate with pumpkins:


1.    Pumpkin Succulent Gardens
Pumpkins have a great shape and look awesome when paired with succulent plants.

Carve your pumpkin as you would a typical Jack O'Lantern. Carved pumpkins have the same life expectancy as a floral arrangement when kept inside.  ( Approximately One Week)

Succulent Arrangements on my DIY Cedar Plank Rug.

Succulent Arrangements on my DIY Cedar Plank Rug.

Purchase a small cluster of mini succulent plants at your local hardware or garden store. 
Group the succulents together and place the roots and a small amount of dirt in a plastic sandwich bag. 

Trim or fold the top of the sandwich bag to ensure the succulent foliage is above the bag. 
Loosely tie ribbon or twine around the sandwich bag to keep dirt from spilling out of the bag.

Place the succulents in a carved pumpkin.
Decorate the outside of the pumpkin with natural elements such as moss or twigs.
These make great host gifts or gifts for neighbors.

2.    Pumpkin Floral Arrangement
Pumpkins have a great shape and look awesome when paired with flowers.

Carve your pumpkin as you would a typical Jack O'Lantern, make sure the opening of the pumpkin is wide enough to place a vase inside. 

Carved pumpkins have the same life expectancy as a floral arrangement when kept inside.

Fill a vase with water and place inside the pumpkin.
Add fresh cut flowers to the vase.
These arrangements look beautiful on any harvest table.

3.    Pumpkin Art
Pumpkins look magical when painted.

If you don’t have time or energy to carve a pumpkin, get some paint and paint directly on the pumpkin.  Pumpkins also look great when spray painted.

The Funniest Behind Scenes Photo Ever. Photo By: Glenn Griffin

The Funniest Behind Scenes Photo Ever. Photo By: Glenn Griffin

Minnesota Themed DIY Halloween Costumes

Halloween is a magical holiday for children and adults. It’s a celebration of creativity and an invitation to be anyone or anything.  It’s a free pass to be an alter ego and or a free pass to eat candy with abandonment.

Here's a group photo of the MN Themed DIY Costume Crew Back Stage at the TCL Studio. Photos By: Glenn Griffin

Here's a group photo of the MN Themed DIY Costume Crew Back Stage at the TCL Studio. Photos By: Glenn Griffin

Here are FIVE tips on how to create a homemade Halloween costume:

1.     Start thinking and gathering ideas for costumes.

Are you drawn to current events, movies, or maybe nature? Do you want to amplify a characteristic that is very much a-part of-you, or do want to create an alter ego?  All of these questions are a great place to start when planning for a creative costume.

Once you have a general idea of what type of costume you would like to create, starting looking for images to drawn inspiration.  This is very helpful when creating a costume that is not premade.

unnamed.jpg

Make a list of colors, textures, and shapes that you would like to include in your costume.

 2. Check your closet, basement and garage (yes, garage) for potential costume pieces.

Before you going shopping, shop your own closet.  Some of my best costumes have come from pieces that I already own. In college, I had a Twister Board Game that I turned into the cutest dress. I wore a purple wig and glued the game spinner piece to a headband. This costume took me about 20 minutes to make and I spent under $20 to make it.

3. Head to your nearest thrift store.

Thrift stores are the best places to find unique pieces for costumes.  Often times, thrift stores save their most unique donations just for Halloween!  I went this year with a list for colors and textures that remind me of Babe the Blue Ox, a Lady Slipper and a Loon.

I was successful in my search for the pieces to add to my Babe the Blue Ox costume and my Loon costume.       

4. Shop the Dollar Store and Craft Store

I am normally able to create the majority of my costumes from thrift stores but oftentimes costumes need to have a few pieces created specifically.  The Dollar Store is great for picking-up house hold items that can be repurposed into costumes.  I purchased all the items needed to create my Hot Dish costume. 

I went to the fabric store to pick-up large amounts of felt, fake fur and shiny fabrics. All of the items I needed to embellish my costumes were on sale.  Unlike department stores, I always find seasonal that seasonal items are on major discount.

5. Look at the Images that Inspired you and Start Craftin’

I looked at actual images of lady slippers flowers in nature to be inspired to make the Lady Slipper fairy costume. I like creating nature inspired costume as they are more of an artistic representation.  All of the costumes I made are created with a glue gun! No need to create limitation for yourself- get some spray paint, a good scissors and glue gun and you’ll be able to create any costume that strikes your fancy.

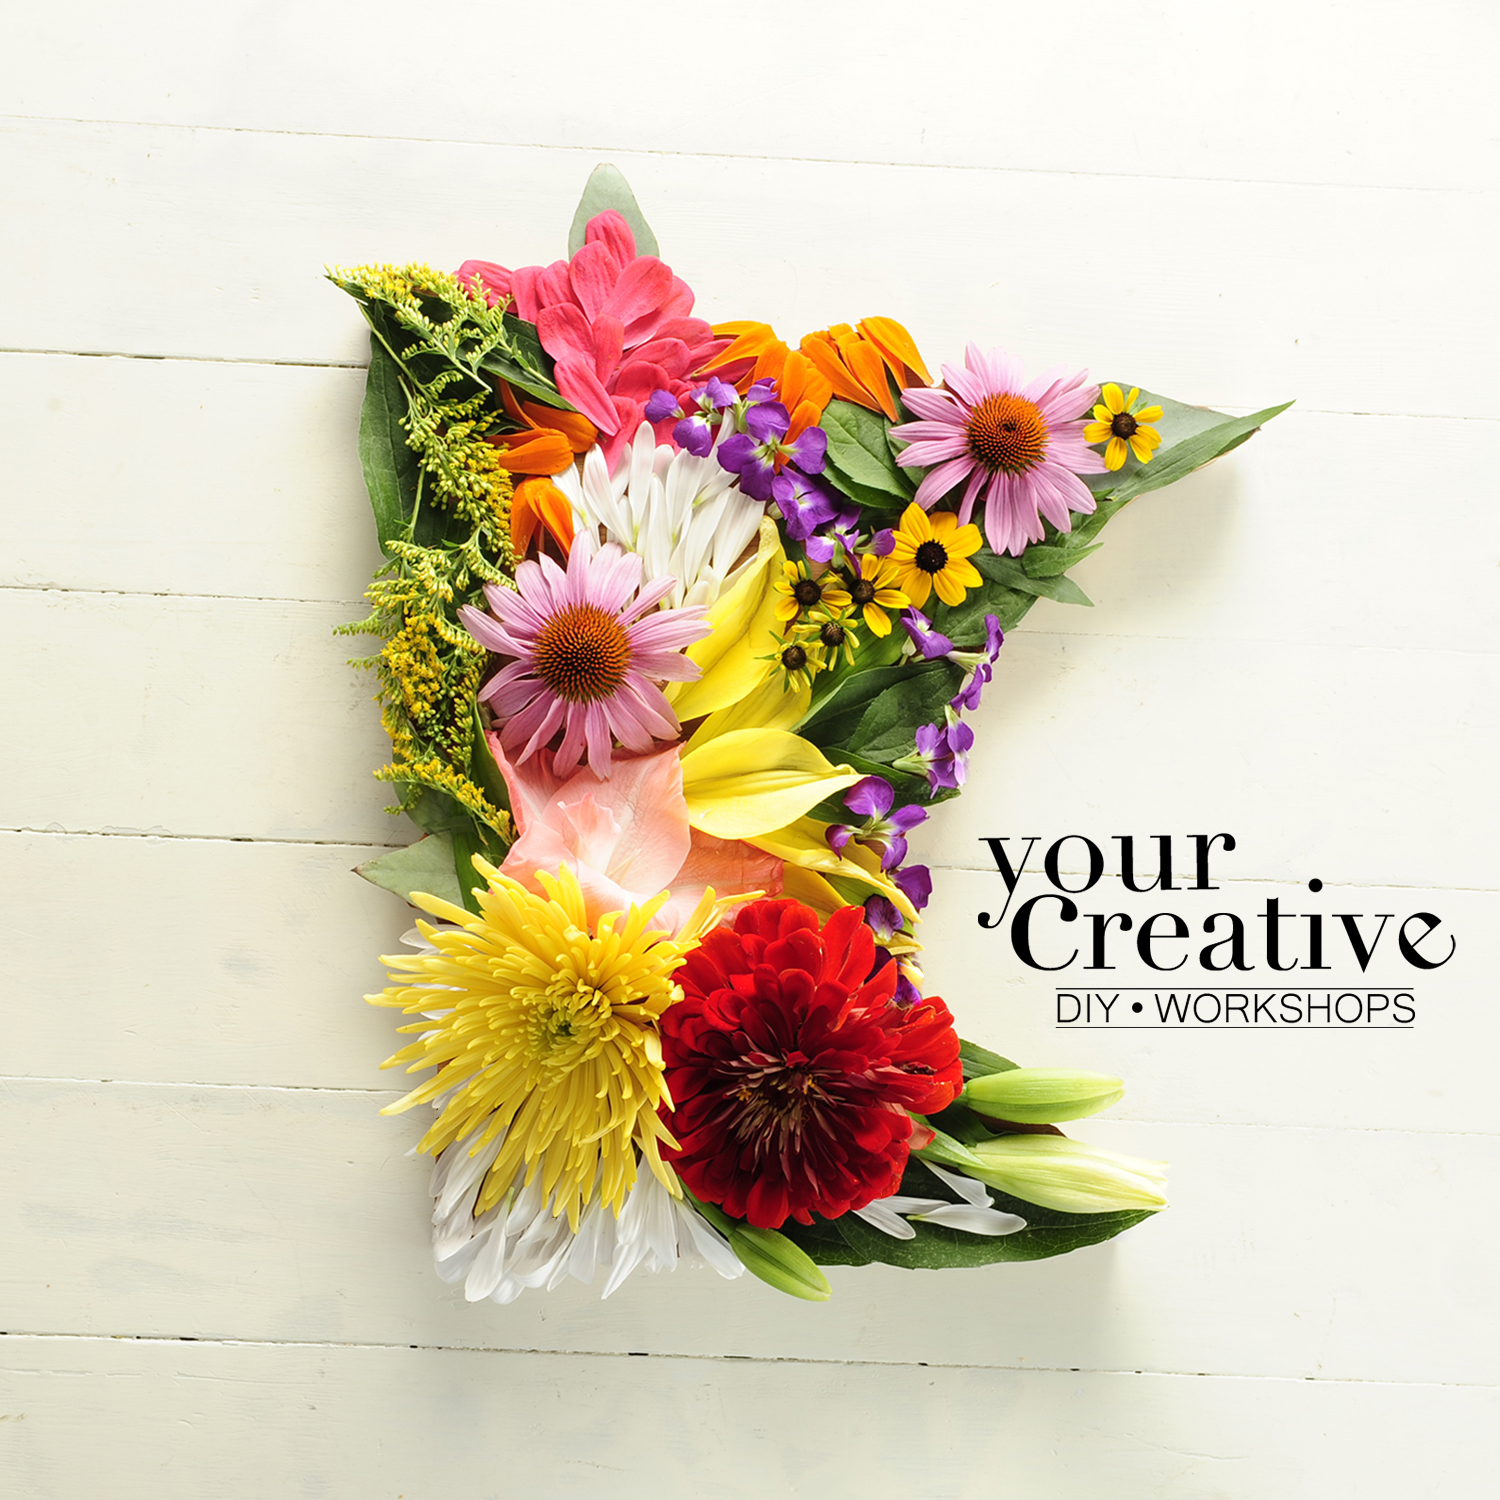
Your Creative MN Floral Workshop

Let’s Be Creative Together!

Who said Do It Yourself projects have to be done alone?  

Join us August 15th For A Hands-on Floral Arrangement Workshop! 

Click the Photo Below For Fun Details:

Click On Th Photo Above For All the Fun Details.

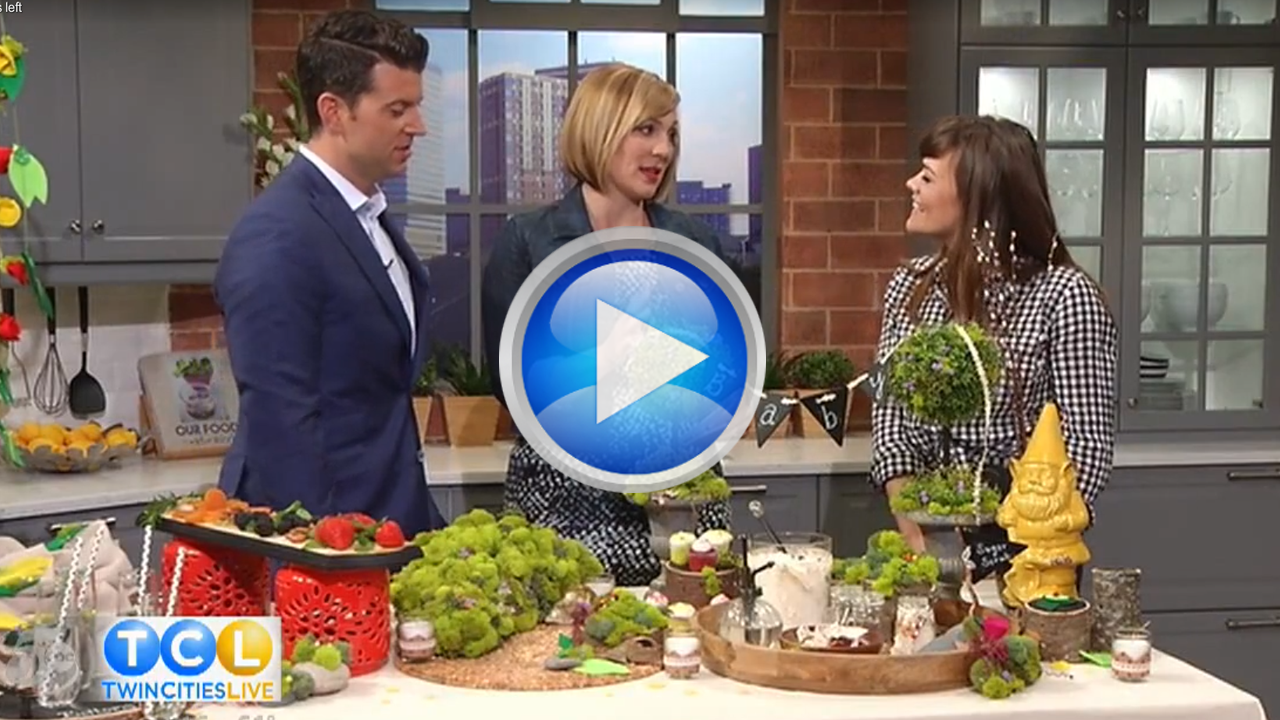
Twin Cities Live, Craft Star!

A dear friend called me on a Friday and encouraged me to create a video entry for the Twin Cities Live, Craft Star competition. The deadline was the following Monday so, I knew I had to make something, and quickly!  Everything about this project and the potential it held was so enticing.   I was delighted when I got the call that I was one of four finalists!  

One of the show's producers gave me the run-down of next-steps. She told me that I would have $150 to spend at Joann Fabric's & Crafts, to create a tablescape based on the theme I would choose at random, the day of the shopping spree. 

I met the other talented finalists, with the producer, and videographer.  We all huddled around the fabric aisle to draw our theme. I pulled 'Baby Shower.' I grabbed a cart and headed to find some sales!  This was the most challenging part of the whole experience! I knew I would look like a crazy lady, as I talked to myself the whole time planning my tablescape- but the efforts I put in the store would directly impact what I was able to create.

I wanted to challenge myself by going through every aisle in the store. I looked for larger pieces that were inexpensive to add color, impact, and balance to the smaller crafts I would be making.

Joann Fabric & Crafts has great decor props. I am talking like, 'Hello Create & Barrel.' The largest pieces on my table were all 70% off and can/will be used year round.

Best Friends Forever. This fellow was the first goodie I put in my shopping cart. He was $7.50.

Best Friends Forever. This fellow was the first goodie I put in my shopping cart. He was $7.50.

Well, Hello Little Cutie! You are $12 And Coming Home With Me.

Well, Hello Little Cutie! You are $12 And Coming Home With Me.

With a full cart, I was ready to check-out. I spent $149.95! I spent nine days planning and making goodies for the Enchanted Baby Shower.

Here's the video of me presenting the tablescape on Twin Cities Live:

Projects:

Plant Trays are awesome to make into serving trays. I purchased various sizes and spruced-them-up with some paint. I kept the paint choices neutral so that I can use them often.

Napkins- Folded in the cutest bow. Added felted shapes and moss with a colorful string napkin ring. 

Click This Photo For a Folding Tutorial. My Gal, Katie of Uncommon Creative Studio, is the Linen QUEEN. She's just amazing!

Click This Photo For a Folding Tutorial. My Gal, Katie of Uncommon Creative Studio, is the Linen QUEEN. She's just amazing!

Drink Tray- I bought a wooden slab, painted it with Martha Stewart's Chalk Board paint and added drawer pulls. The text, " Bottoms Up' is perfect for drinks or later to put this tray on a baby changing table for lotions and powders.

Food Serving Tray- Flipped two ceramic lanterns over and added a wooden slab. Light metallic painting on wood with chalkboard paint border. This is a stylish and inexpensive solution to add height to your table. This is also a great trick to use when you have a small serving space, as food can also be served under this tray. I will be putting LED candles in these lanterns for an evening patio party with friends. The reflections will be pretty on a the serving table.

Topiary- Add moss, small purple flowers, grape vines from my garden. Painted ceramic vases with metallic paint. 

Baby Banner- purchased chalkboard banner set. I swapped out the twine for a pretty ribbon. I also wrote the word LOVE on the other side of the banner. This will be a cute gift to give to the new parents to hang in the baby's room. I also used the 5th triangle from the banner to make a little sign for the DIY Sugar Scrub station.

Sugar Scrub- Add two part sugar to one part coconut oil.  Spray desired scent into sugar mixture. Decorate lidded jar with Shower theme trinkets. I found a great vintage- inspired plant mister while shopping at Joann Fabric's. I  added my almond scent with water to this adorable vessel.

Gnome- Add a personal message to gift to parents. This little guy is under $10 and can be enjoyed year round.

Candles - Purchased a six-pack of glass, votive candles for under $6. These are great to wrap printed papers and ribbons around. These can easily be updated throughout your holidays by changing the paper and ribbons.

Moss Hill- I love instant foam. You can purchase this for dirt cheap at the  hardware store. This creates an organic shape. Paint and hot glue moss and miniatures. This will be cute on a bookshelf. 

Chandler & Baby Mobile- Use embroidery hoops, add simple shapes with a needle and embroidery string. This is great to tie to a dining room light fixture over your serving table.

I am beyond thrilled to now have the opportunity to be a regular contributor on Twin Cities Live!  Thank you so much for the outpouring of love and support from my friends and family.  I am still cleaning-up moss in my house, but this experience is so worth it!