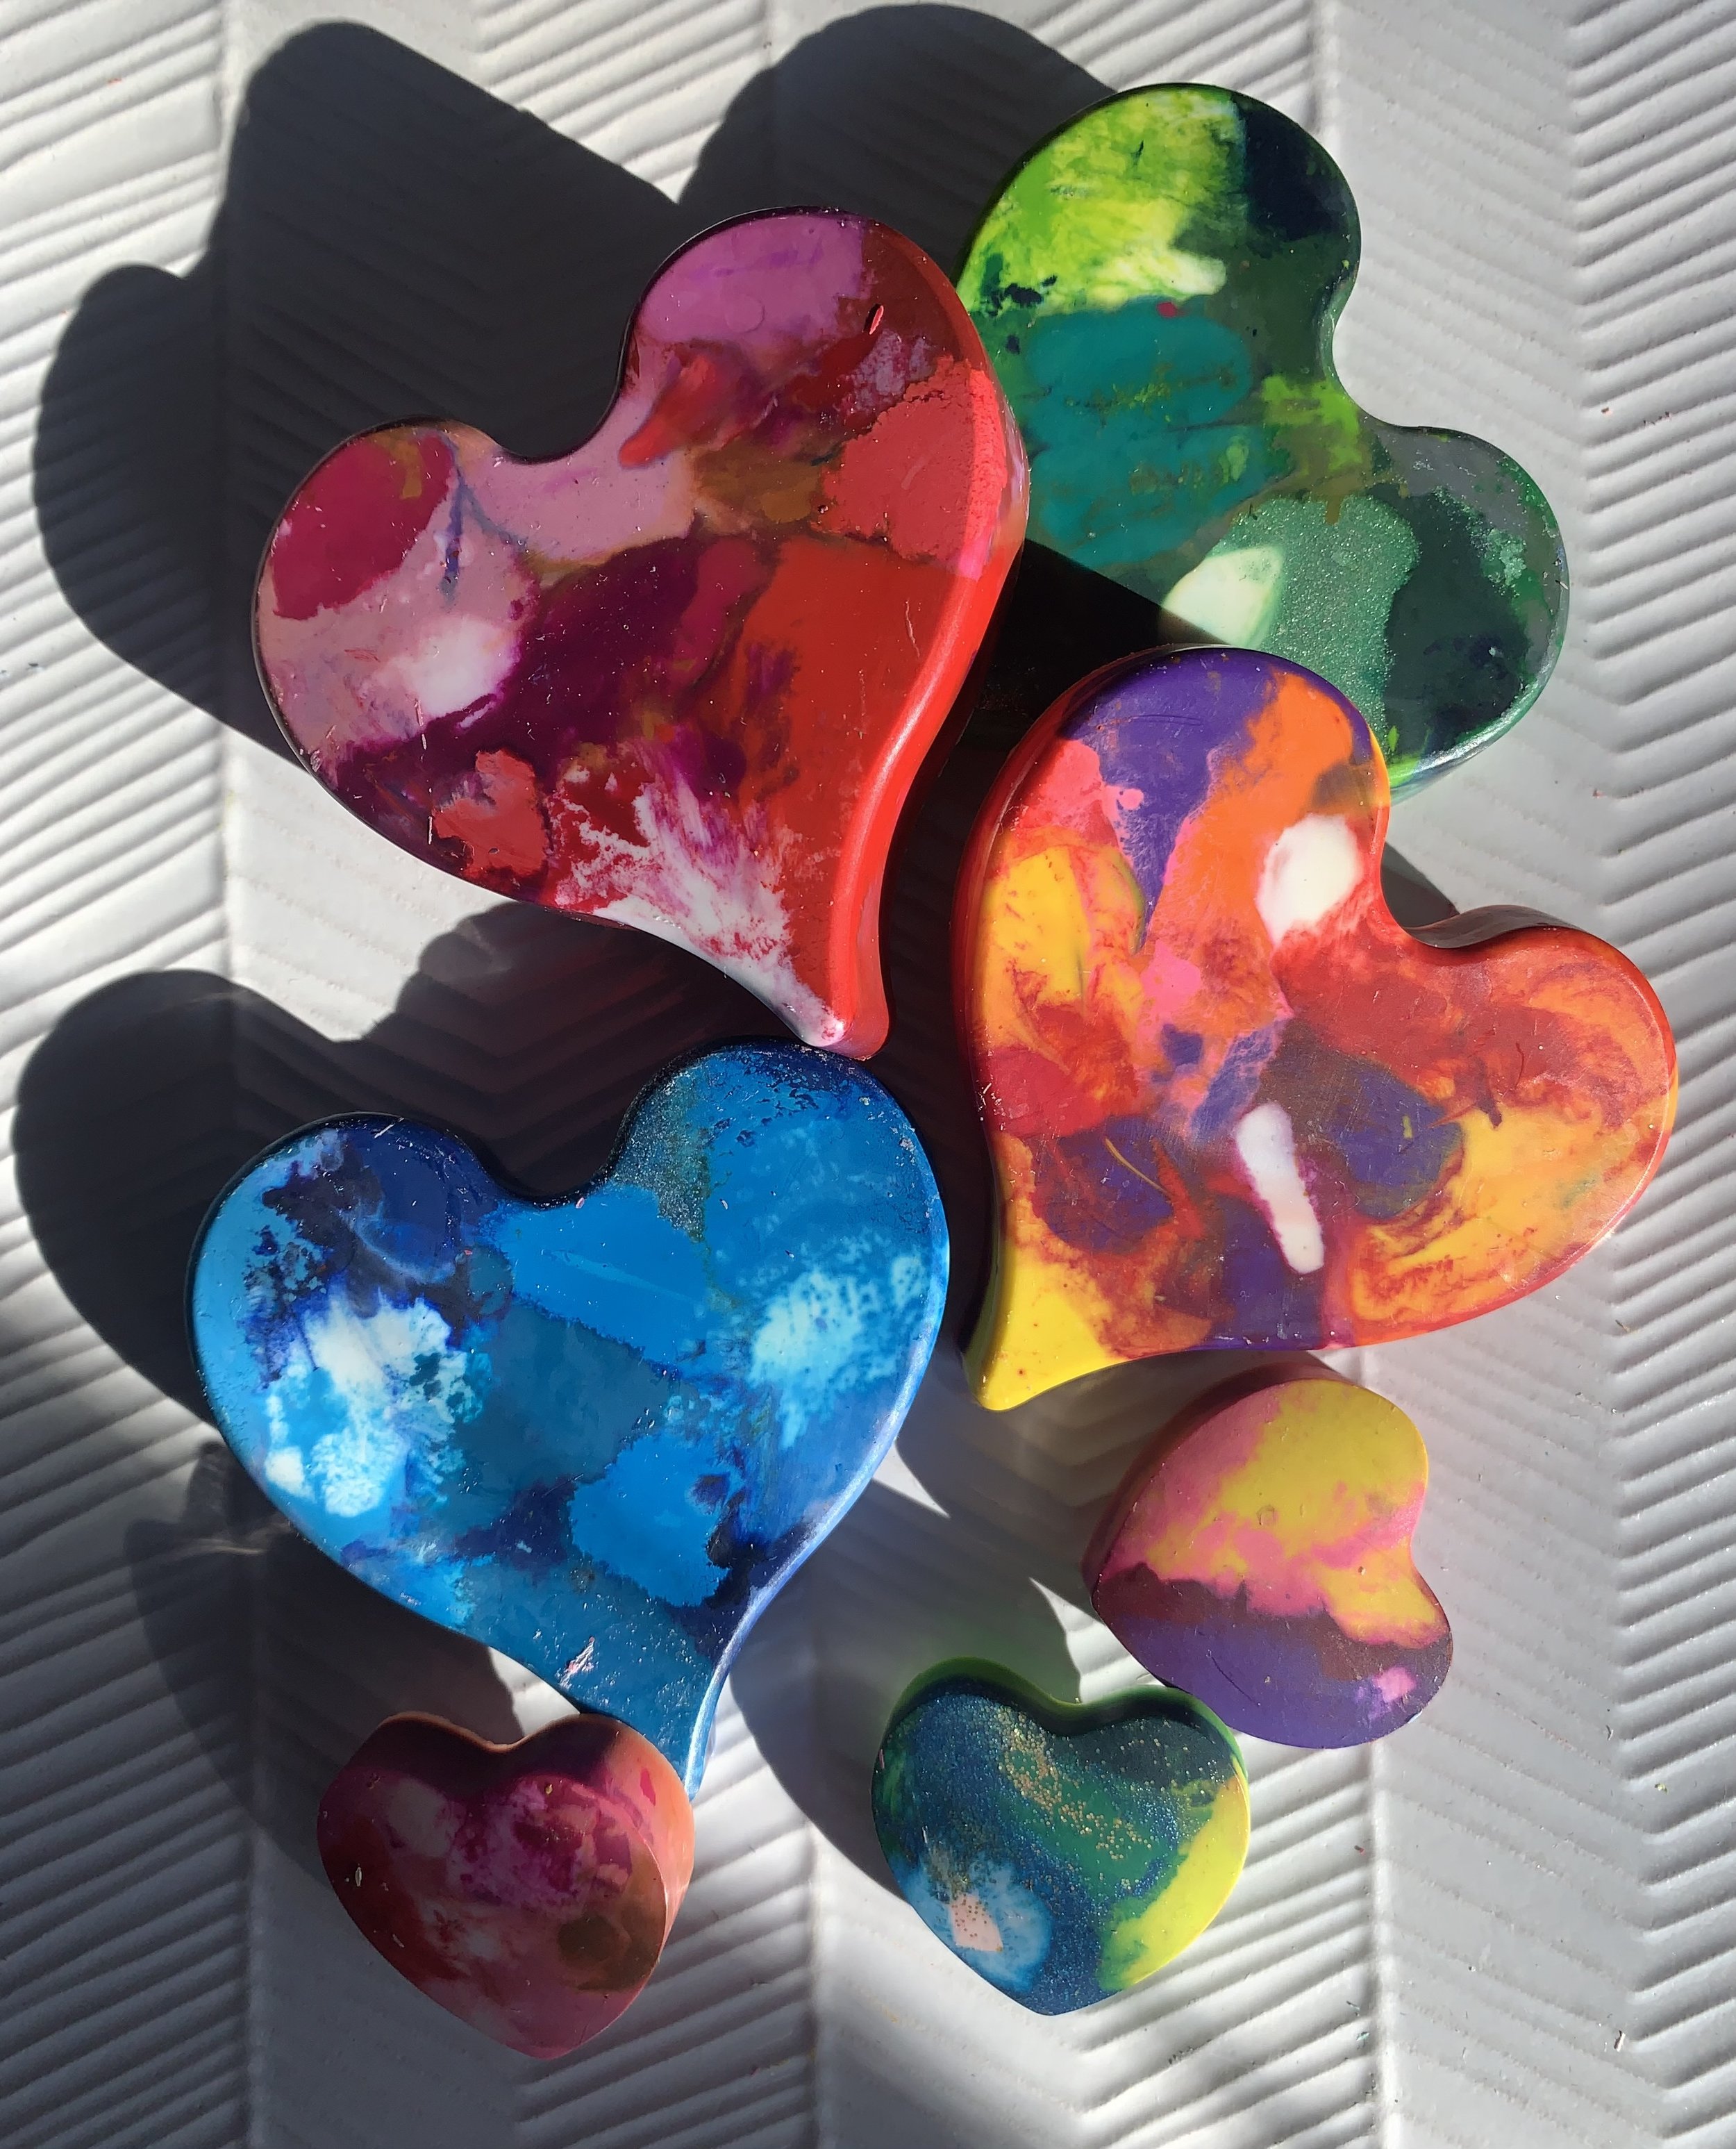
Marble Crayons
This is a fun afternoon craft to make with loved ones and then share with classroom friends.
If there aren’t kiddos in your life consider making these and then dropping them off to libraries or other non-profits.
Another fun way to use crayons – regardless of age, is to add a roll of craft-paper as a table runner and then use the marble crayons as table décor. Guests will have fun doodling while chatting over brunch.
Supplies:
Crayons
Silicon Molds
Glitter – optional
Steps:
Step One: Fill a large bowl with water, place crayons in water.
Wait five minutes and then pull the crayon wrapper off of the crayons.
Throw away the wrappers.
This water-bath process really helps expedite taking the wrappers off from the crayons.
Step Two: Color sort crayons and break into small pieces.
Step Three: Preheat oven to 350-degrees
Step Four: Place silicon molds onto a lined baking sheet. Add crayons ( and optional glitter) to silicon molds. Don’t over pack. The small empty space in-between the crayons allows for the crayons to melt into one another and create the marbling of colors.
Step Five:
Place cooking sheet with the silicon molds into the pre-heated, 350-degree oven. Oven temperatures and the depth of the silicon molds will vary. Set a five timer and check to see if crayons are melted. Most crayon melt between 5 minutes and 15 minutes.
Step Six:
Carefully remove hot baking pan from oven. Allow for crayons to fully cool before removing from silicon mold. The depth of the silicon mold will impact cooling time. On average wait two hours to remove harden crayon wax from the silicon molds. Gently remove crayons from molds!

Insider Tips:
- Ask family and friends for used crayons they no longer need. People seem to hold on to crayons.
- Post on neighbor websites asking for used crayons
- Thrift Stores are great resource for crayons
- Metallic crayons look amazing when melted
Marbling is ancient art that produces beautiful swirling patterns. There are artists who have studied and mastered the many techniques of this craft. Luckily, there are now kits available at Art Stores that allow for experimentation of this art form without requiring hours of studying & practice!
Supplies:
Marabu Easy Marble Kit, $17
Spray Sealant - Optional
Items to dip: fabric headbands, ceramic dishes, Paper-Mache animals, wooden craft trinkets -ect.
Container for water – size should vary depending on items
Chopstick or wooden kabob skewers
Rubber gloves

Freshly Marbled


Steps:
Step One: Prepare your work area by place newspaper around and under where you will dip your items. Create an area to dry your work.
Step Two: Add water to the container that you will use to dip your item in. You will need enough water for the item to be fully submerged. When I was dipping smaller items, I used a plastic cup and the colors were very bright as it was a concentrated area.
Step Three: With the caps still on the paints, shake each paint jar. Remove caps and add paint to the water. Use a chopstick or wooden kabob skewer to make swirl patterns in the water. Act quickly while adding paint and swirling the colors.
Step Four:
Dip your item into the water and paint. Set the item aside to dry.
Step Five:
Clear the surface of the water. This step seems like magic! Move the chopstick or wooden kabob skewers around the water like you are stirring soup. The paint will cling to the stick, and you’ll be ready for your next round of adding paint.
Step Six:
OPTIONAL: Depending on your item type, Add spray sealant to your marble item.
Marabu Easy Marble Kit
https://wetpaintart.com/marabu-easy-marble-kit/
Sealer
https://www.michaels.com/americana-acrylic-spray-sealer-finisher-matte/10254974.html